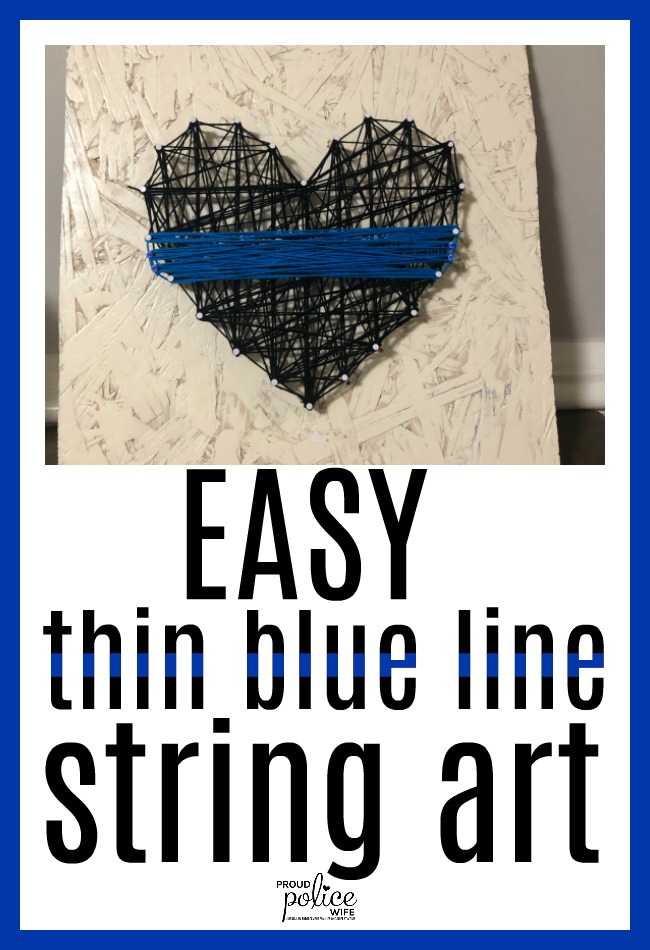
I love creating inexpensive, DIY projects and I have been wanting to create thin blue line string art for months and there is no better time with Valentine’s Day right around the corner.
I have always been impressed by beautiful string art photos that I see on Pinterest, but I have to be honest, actually creating one intimidated me- until now!
You will be so impressed with how easy this project is and the best part, it does not break the bank.
DIY thin blue line string art:
The first step to making your own thin blue line string art is to decide what design you want your string art to be.
This post gives you the tutorial to make a thin blue line heart but you can use this technique and transfer it to any design you want. Once you know what design you want to go with, you need to obviously buy your supplies.
Supplies needed:
Plywood– I used 11 x 11 inch boards. I like using plywood because I like that I can spray paint them any color to match the decor of my home. Also, they are a thinner wood which makes it easier for nailing in the nails. We had plywood on hand at home already but you can purchase some at your local hardware store. Or you can buy these off Amazon.
Spray paint– if you use plywood then you will want to spray paint it to hide the generic wood color. This is the color I had on hand (ivory) so I went ahead and used it for the board.
Nails– I used this size off Amazon which is recommended for string art. Note: I originally tried this project with smaller nails that were recommended on Amazon- big mistake. You need at least 1-inch size panel nails. I went with white nails, but any color will do.
String– any color you choose for your design. Instead of buying each color individually, I bought this variety pack to use for future projects. This project used 3 skeins of black string and 2 skeins of blue string which came with this package.
Hammer
Needle nose plyers for holding nails while hammering- came in very handy.
Printed design template- here is the heart template for quick downloading.
How to create thin blue line heart string art:
Begin by cutting or purchasing the correct size board you want to use for your string art. Again, I went with 11 x 11 inch boards, smaller works, too.
Or you can buy these boards off Amazon.
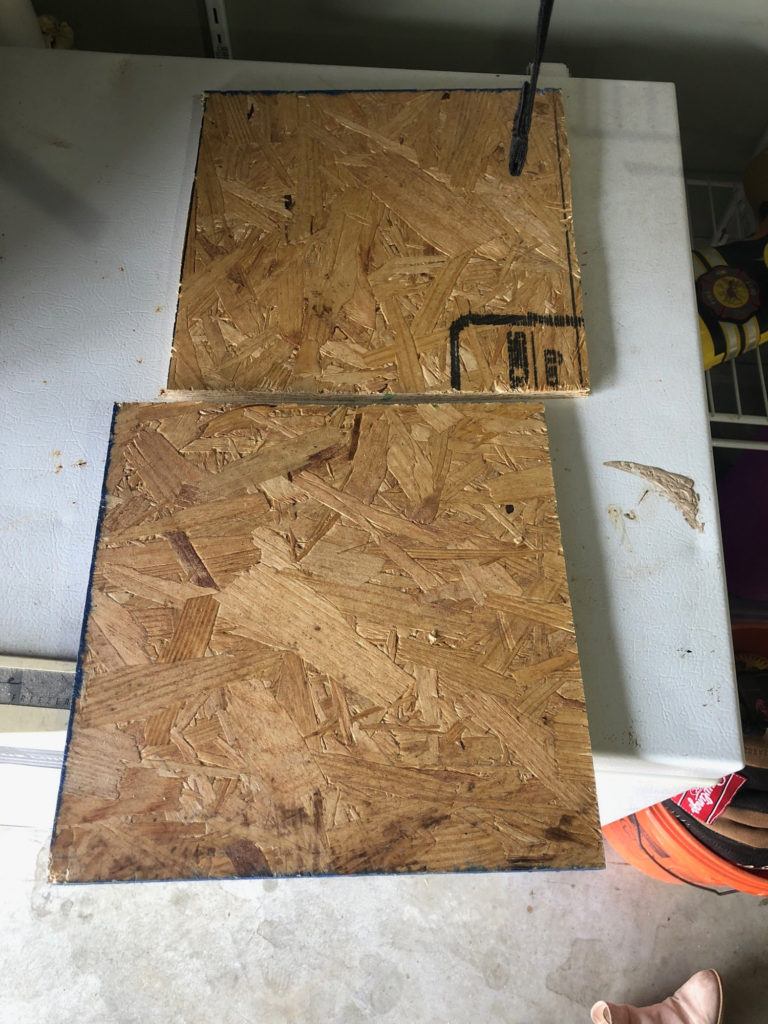
If you use plywood, I recommend spray painting for a solid colored look on the background.
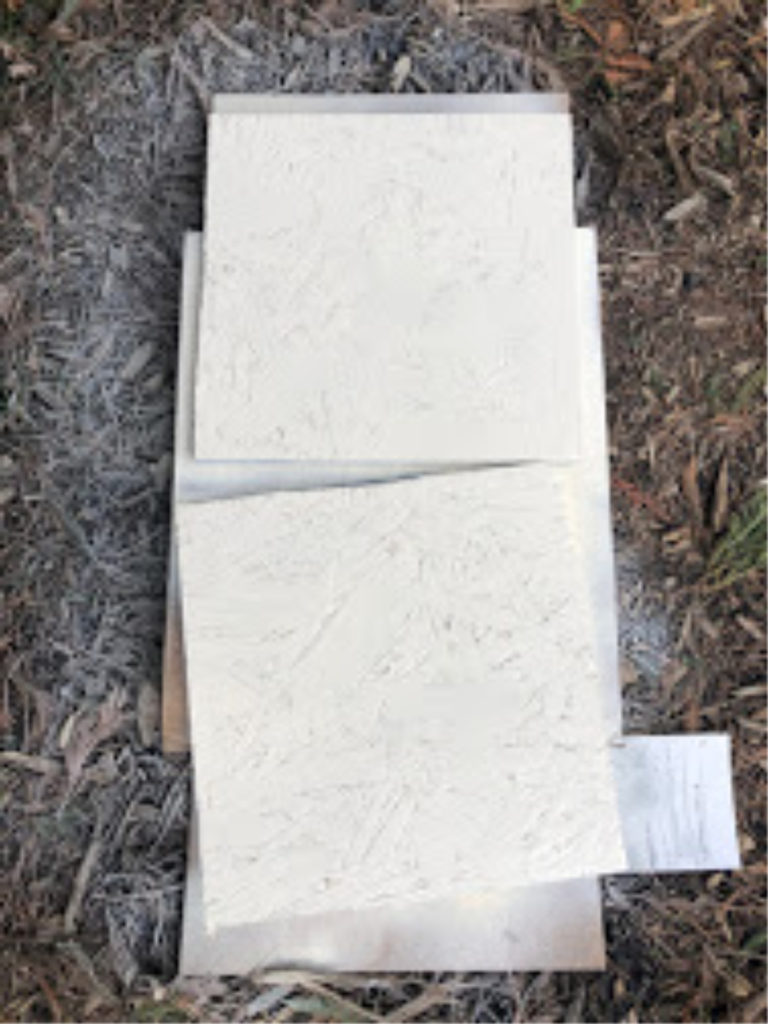
Once dry, you are ready to begin.
Print the heart template here. Print on cardstock if you have it but don’t sweat it if you don’t. If you want to use a different design, go for it!
Tape down the heart printable evenly to the plywood board, but again definitely make sure the board is dry if you painted it. Otherwise, it will stick.
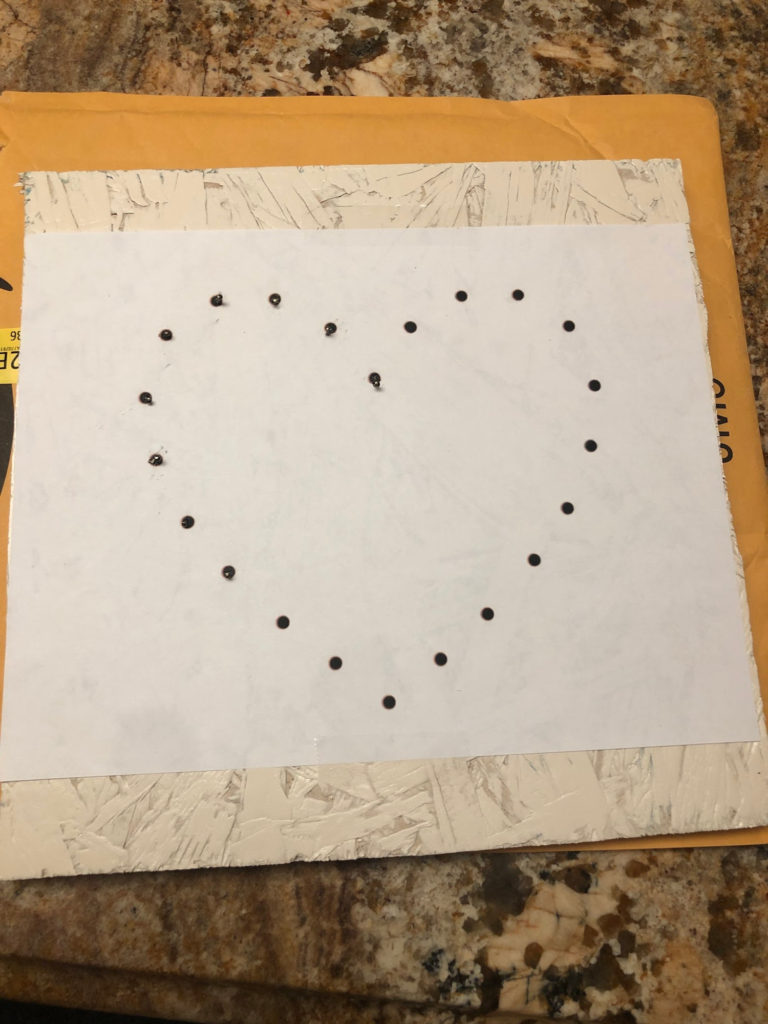
Now it is time to start hammering! Nail the nails down at each dot on the heart template being sure to not hammer them down all the way. You want the nails to be sticking out a good bit.
Tip: If you are having a hard time nailing the nails down, you can use a drill with a drill bit slightly smaller than the nails you are using. Drill a small home where the nails will go just enough to hold your nail in place, then you should be able to hammer the nails in easier.
Once your nails are hammered down, carefully tear off the white paper template.
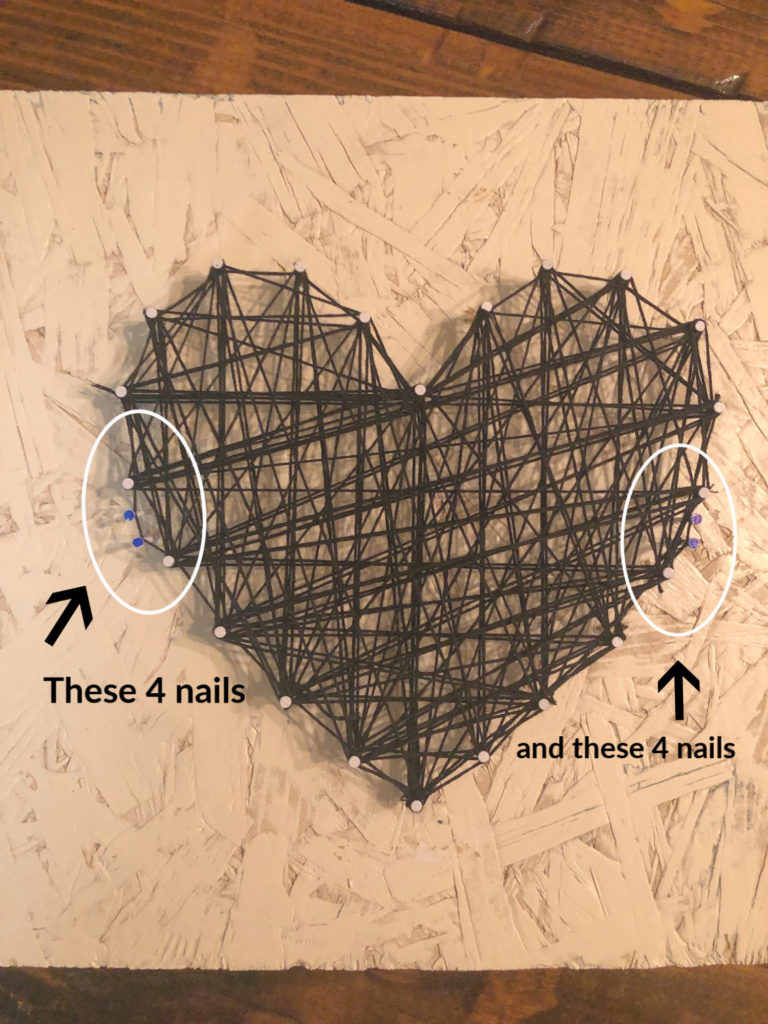
Now don’t put away your hammer just yet. One added step is to add two nails to either side of the heart about halfway down. This will be for the blue string ONLY. Once those are nailed in, you can add blue dots to the top of the nails to help you remember not to add black string to them.
Here is a close-up photo of what I mean:
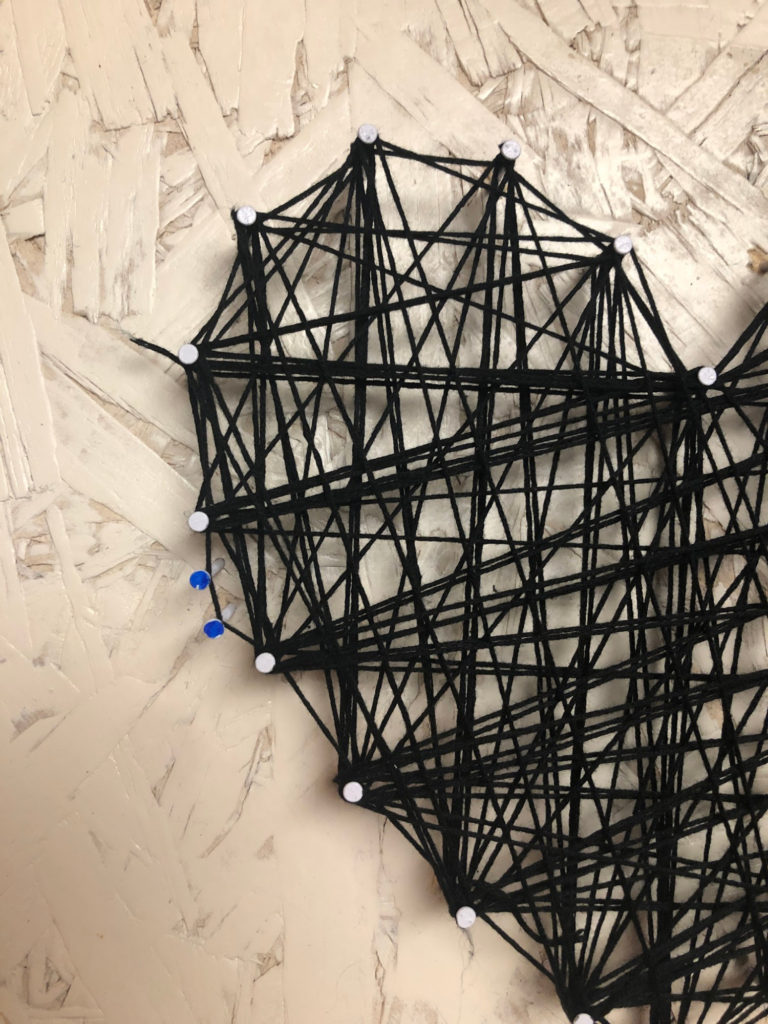
Remember to add two extra nails to the left and right side of the heart if you plan to add the blue string line.
Now you are ready for the fun part-the string!
Start with the black string and begin by tying a knot at on one nail. I like to begin at the bottom of the heart and work my way around.
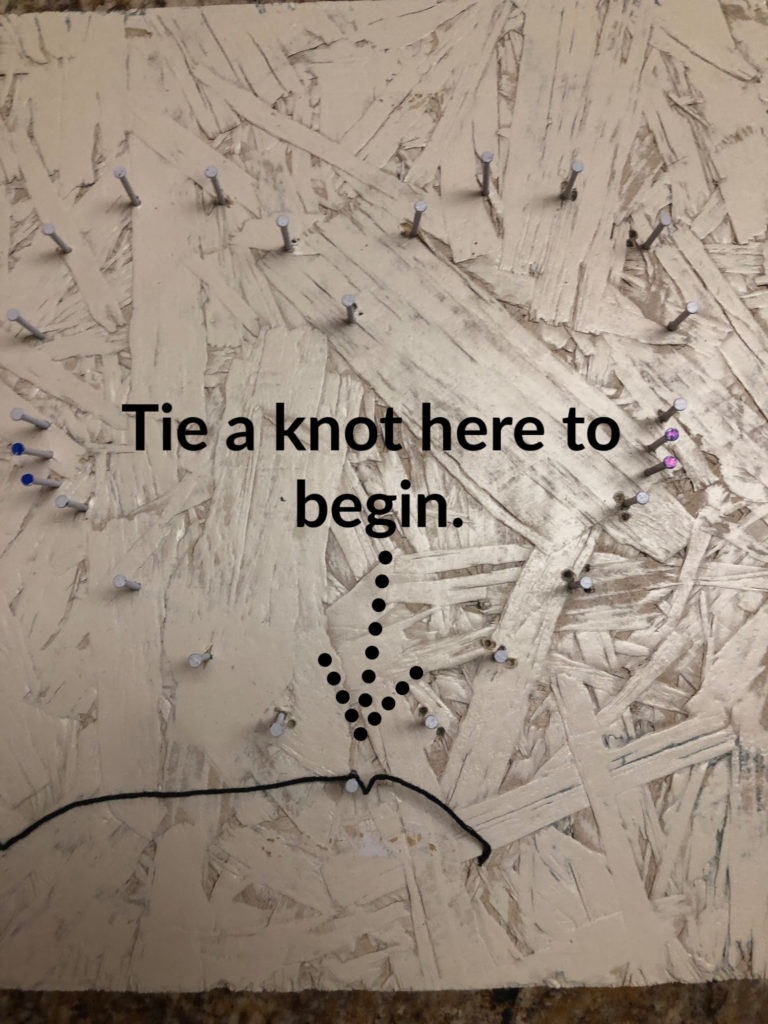
Then continue to wrap the string around each nail in whatever pattern you choose.
Here is my string art halfway through:
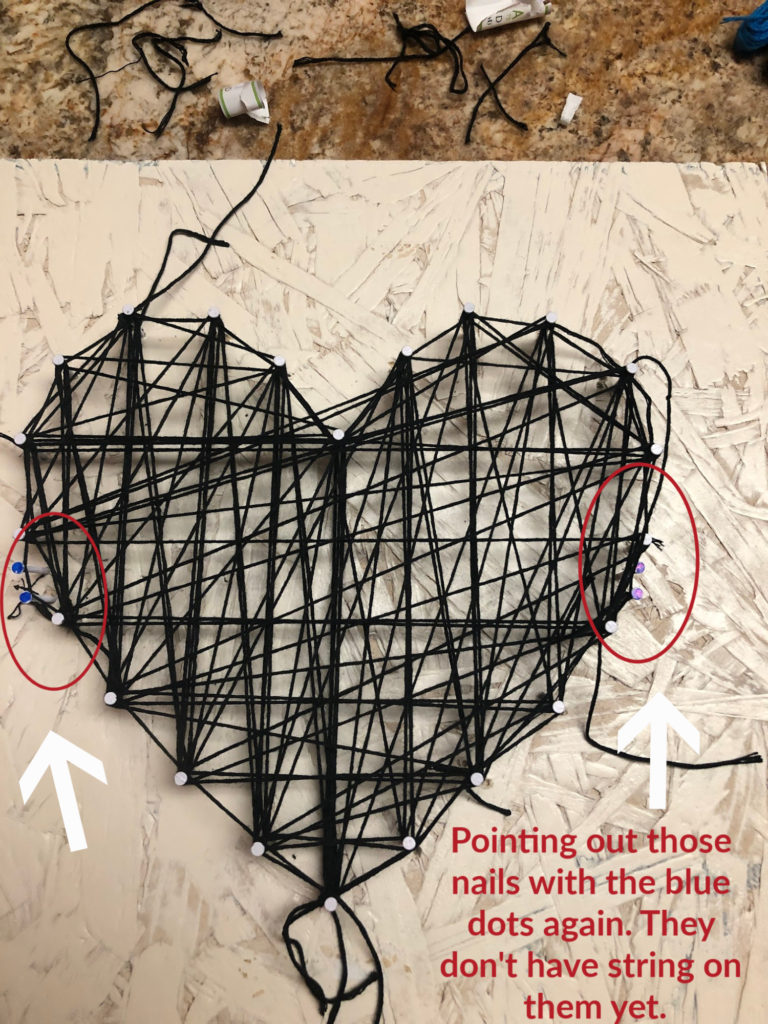
Important tip: to get the “finished” look, but sure to go around the edge or outline or the heart once otherwise, your string art will look unfinished.
Continue to add string until you create the desired shape or fill. Be sure to cut off any ties from the string- I had to do this a few times when I opened a new package of string. Here is the finished heart with black string only:
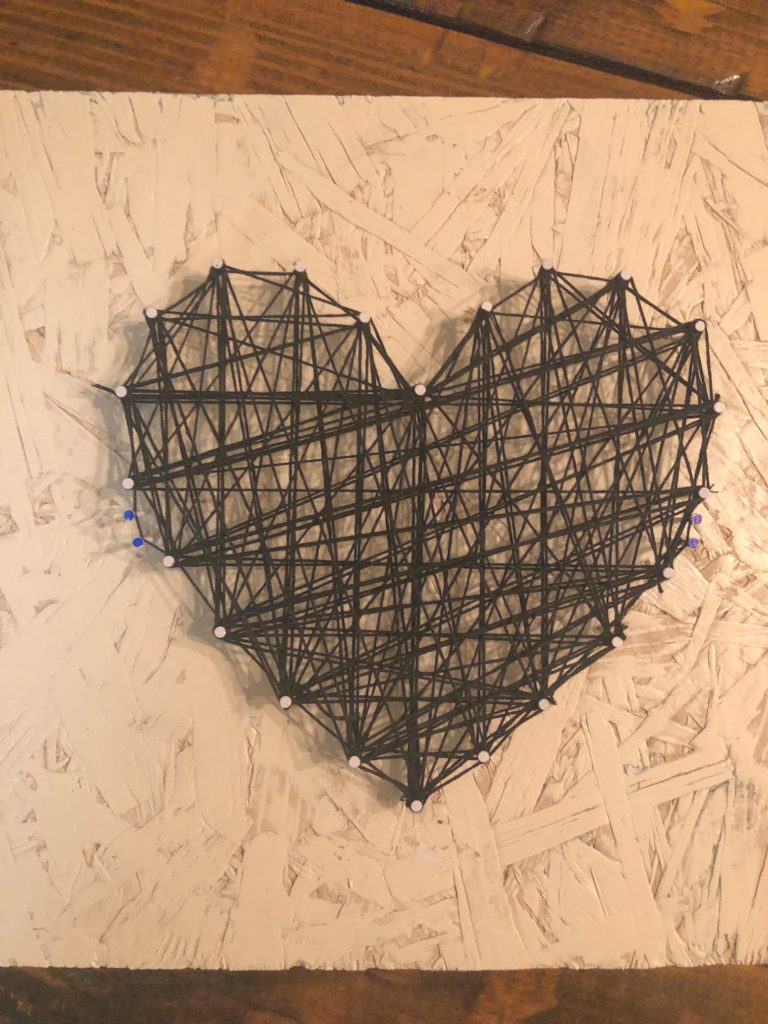
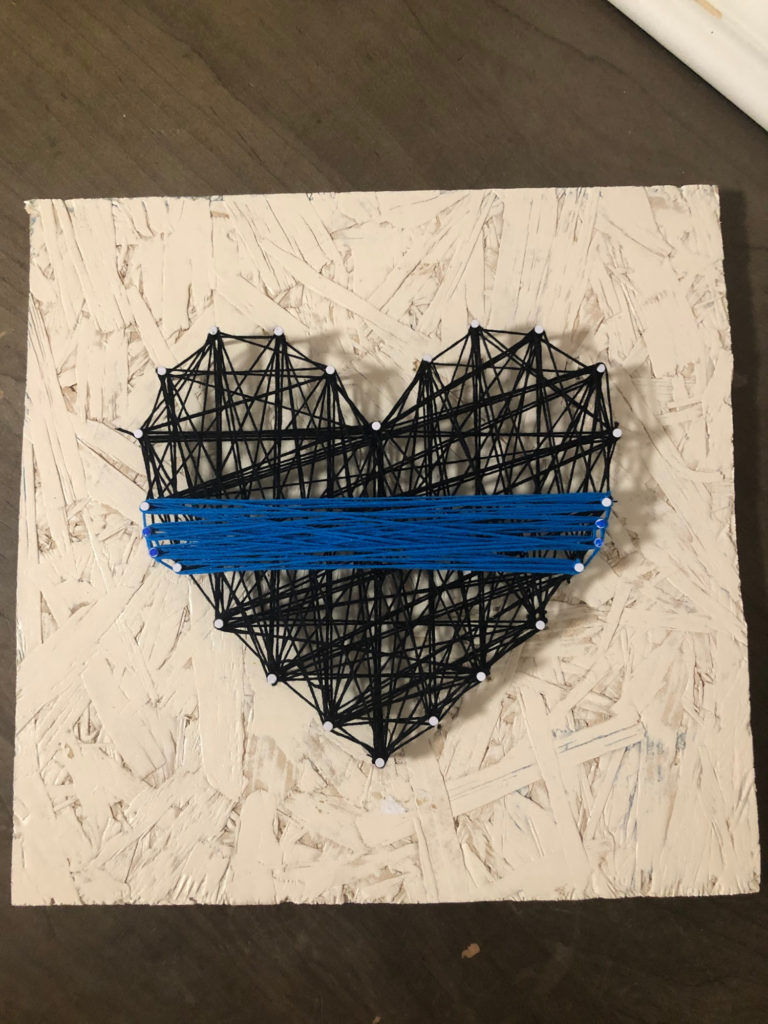
Now repeat the same process with the blue string. I place the blue string right over the top of the black string because, well, it is easy! To create a nice rectangular shape, only wrap the blue string around the nails as seen in the picture below:
The finished product:
The entire process from start to finish took about 1 hour. Totally worth it for this easy + DIY project!
This is a great project to gift someone, do as a home decor project or to do with a group of fellow police wives for fun!
I can’t wait to see how yours turns out! Be sure to share your project with us by tagging our Instagram account– we would love to see what you create!
FREE Police Wife Guide- Top 10 Ways to Rock Police Wife Life
Learn to rock police wife life with these 10 easy tips! Join over 20,000 fellow police wives who are learning to rock it and feel supported with our help each week! Once a week I will provide you with even more ways to feel encouraged and supported for your law enforcement wife journey with my newsletter.
Read my PRIVACY POLICY here.